Working with CALayer
What is CALayer
CALayer is an object responsible for drawing and animations and it is part of Core Animation framework.
It is always used as backing store for UIViews to manage visual content but it can be also used without views.
If it was created by a view the view assigns itself as delegate for that layer and you should not change that.
Every view have one root layer and every layer can contain many sublayers.
Lets examine what we can do with CALayer by examples
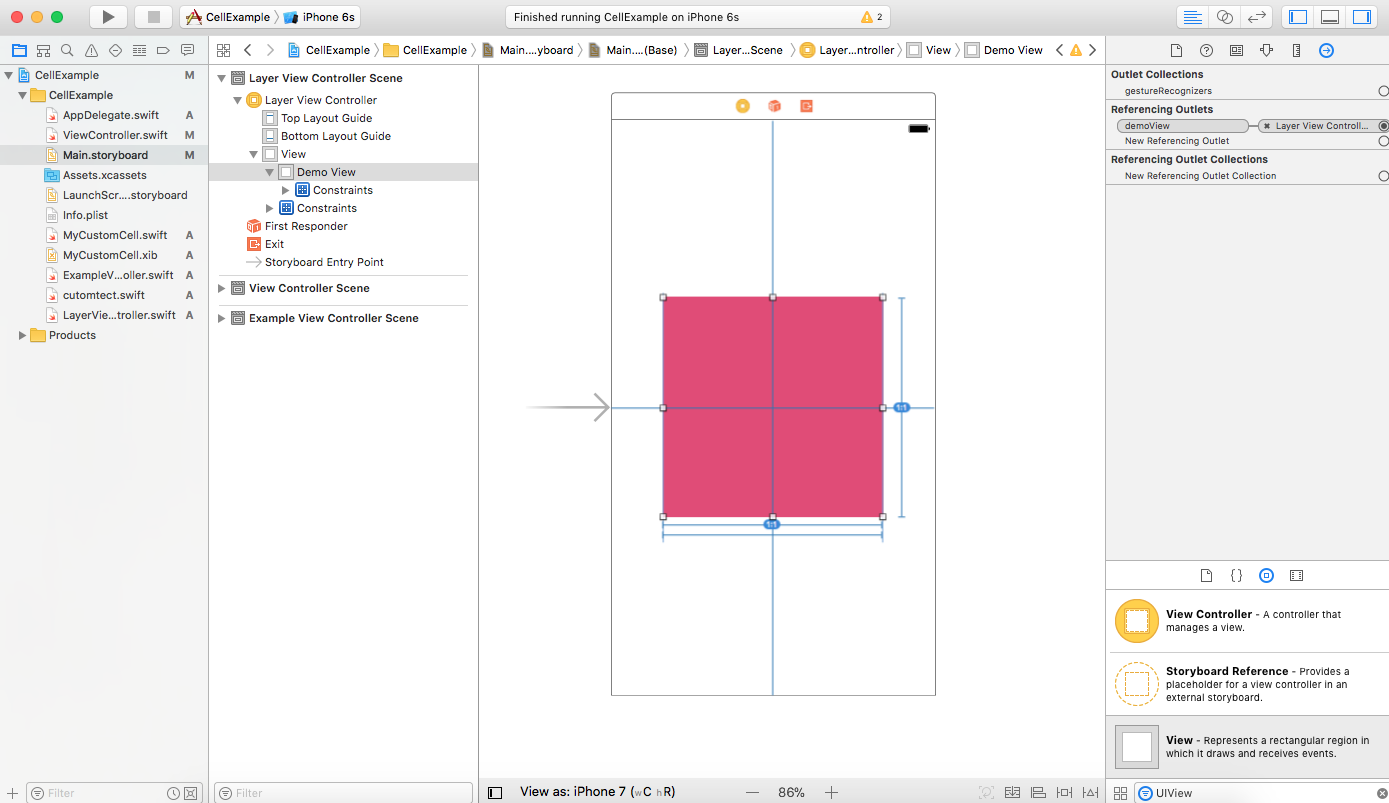
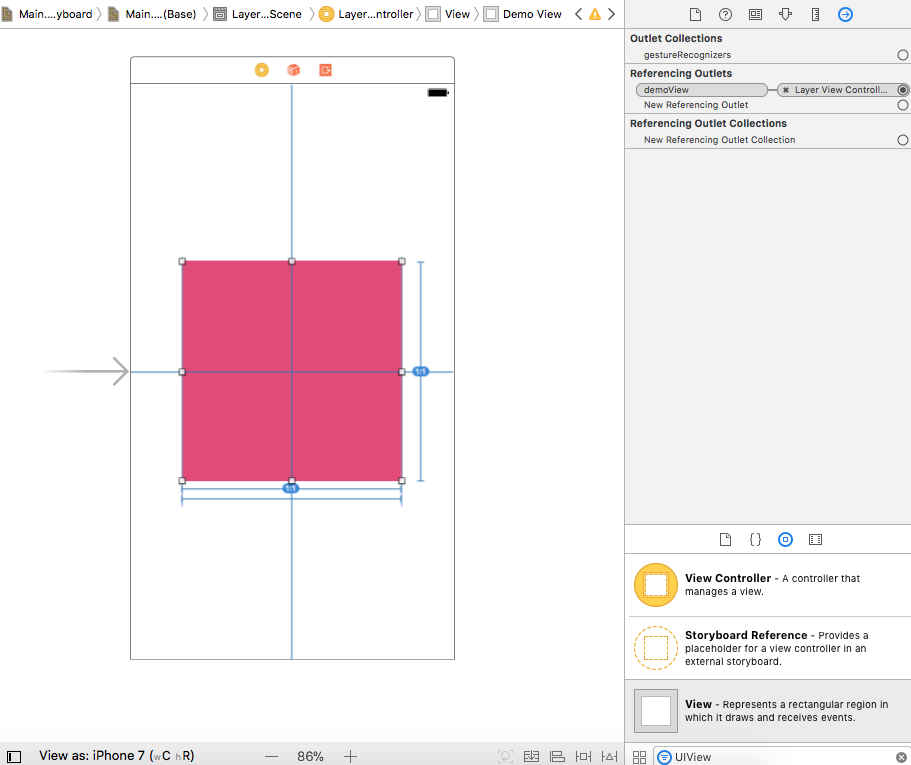
First create a new Xcode project and select Swift from language list then add a squared UIView to the view controller and add the appropriate constraints and make sure its width = height.
Next create an outlet for your view and name it for example “demoView”
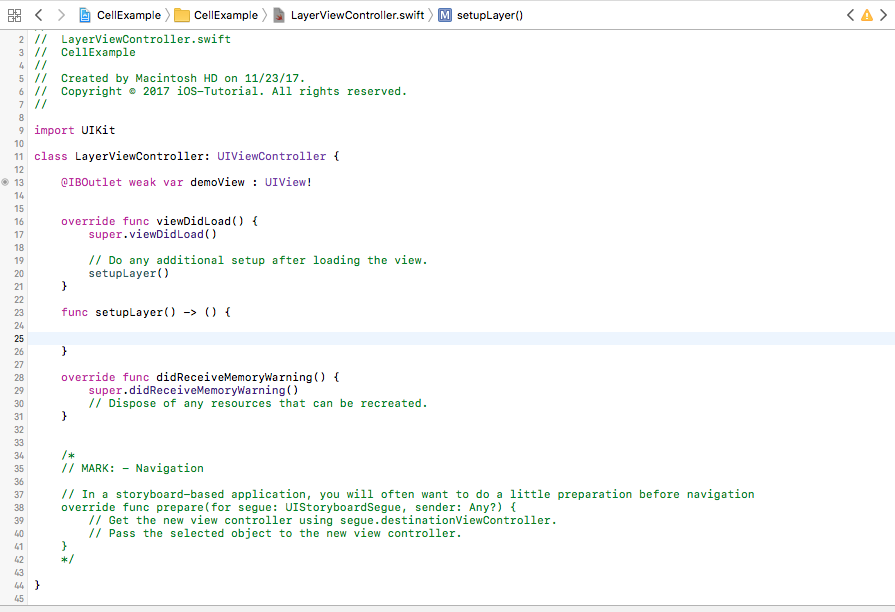
Your view controller should look like this
Finally create an empty function- we will add code later- called setupLayer() and call it from viewDidLoad()
your ViewController.swift should look something like this
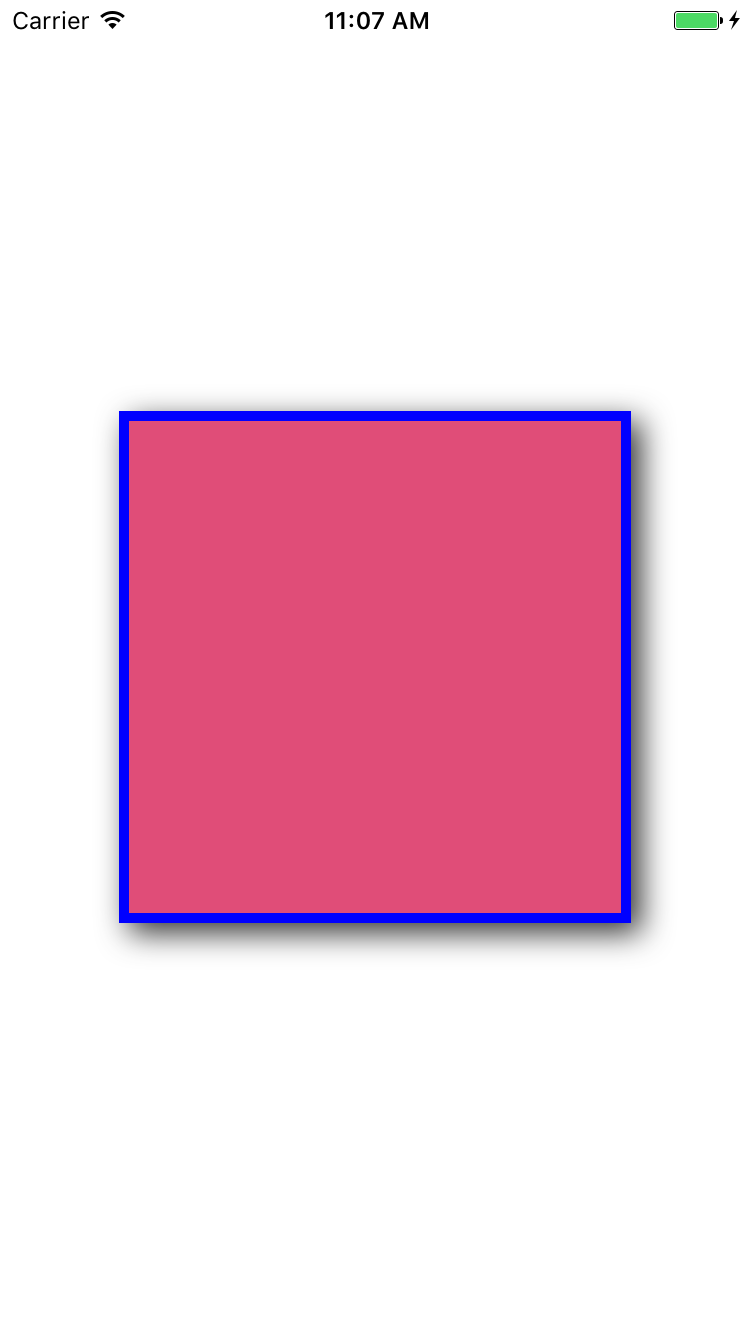
Add shadow to view using CALayer
add the following code to the setupLayer() function and run
demoView.layer.shadowOpacity = 0.8

demoView.layer.shadowOffset = CGSize.init(width: 5, height: 5)

demoView.layer.shadowRadius = 8

demoView.layer.shadowColor = UIColor.black.cgColor
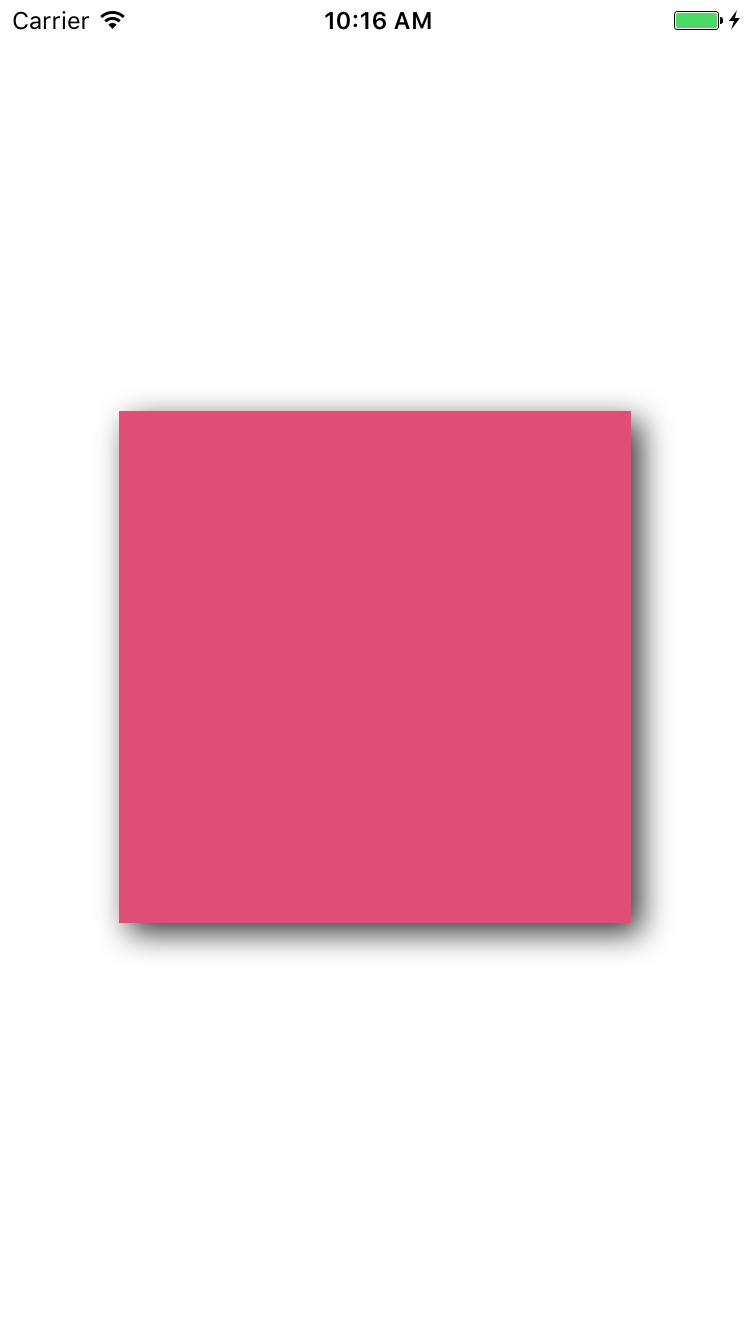
adding shadow to UIView using CALayer
Lets explain what we did
demoView.layer.shadowOpacity = 0.8
shadowOpacity is a Float value between 0.0 to 1.0 and it determines how opaque your shadow will be.
demoView.layer.shadowOffset = CGSize.init(width: 5, height: 5)
shadowOffset is CGSize and its width means how far the shadow will go to the right and the height determines how far the shadow will go down, they can be negative values or (0, 0) if you want the shadow distance to be equal from all sides.
demoView.layer.shadowRadius = 8
shadowRadius is CGFloat, it defines the blur radius or the spread of the shadow, defaults to 3
demoView.layer.shadowColor = UIColor.black.cgColor
shadowColor is simply the shadow color and its default is black.
Take some time playing with these values and see results before we move to the next part.
Add border to view using CALayer
Add the following code to the end of the setupLayer() function and run
demoView.layer.borderColor = UIColor.blue.cgColor
demoView.layer.borderWidth = 5
That was very clear, just 2 lines of code that define the width and color of the border.
Add border to view using CALayer
Add rounded corners to view using CALayer
demoView.layer.cornerRadius = 30Add this line of code to the end of setupLayer() function and run

Add rounded corners to view using CALayer
Create circular view using CALayer
Here is another trick you do with cornerRadius.
If the layer is square (height = width) and the cornerRadius = layer width/2 you will create a fully circular view, lets try it.
Replace the last line of code in setupLayer() with this one and hit run
demoView.layer.cornerRadius = demoView.layer.bounds.width/2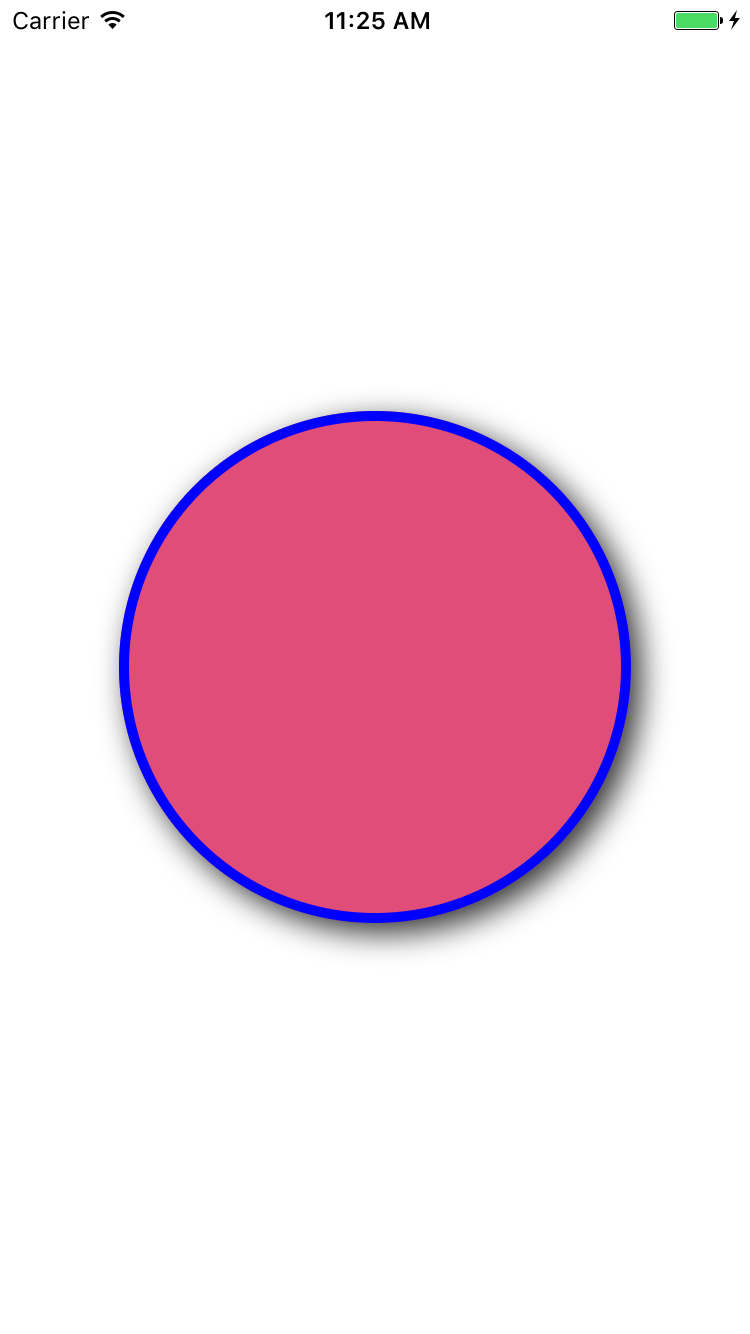
Circular view with CALayer
In addition to UIView you can use the same procedures with UIImageView, UIButton or any other view.
Finally that was just few examples of what you can achieve using layers but you can do much more.
Keep visiting our website as we will be adding more examples soon.